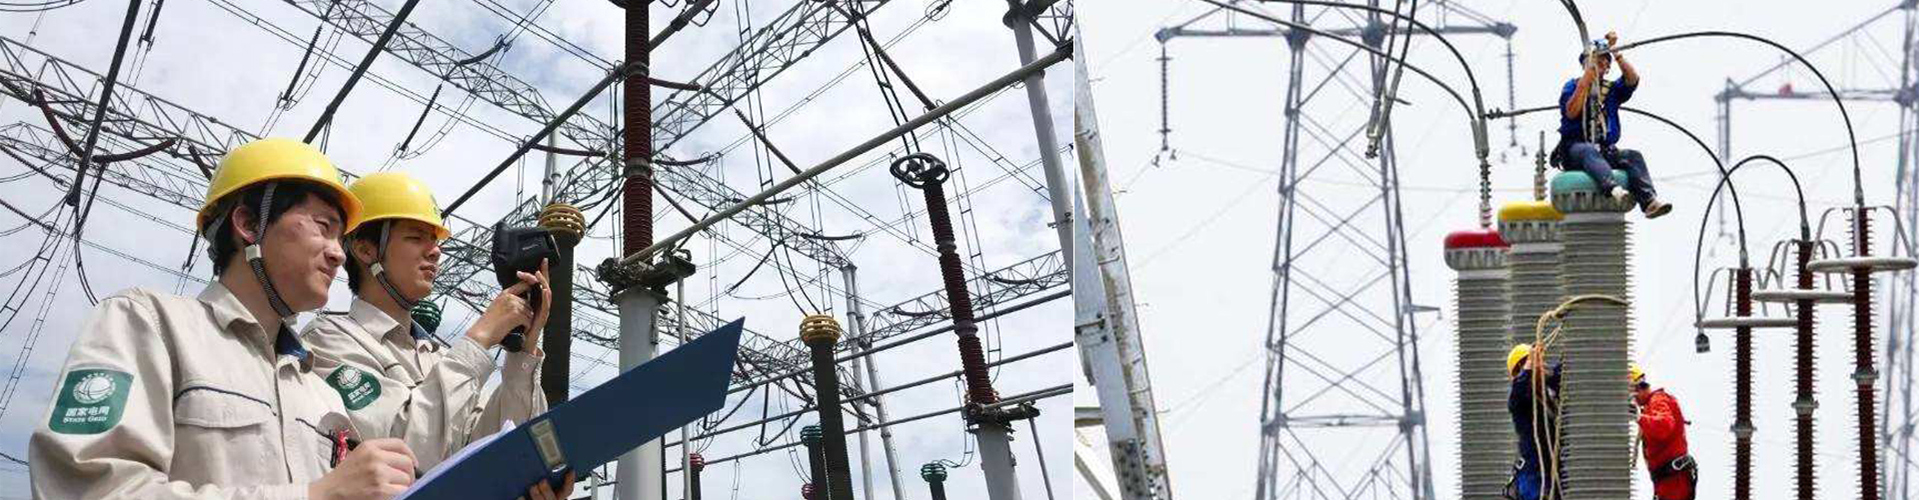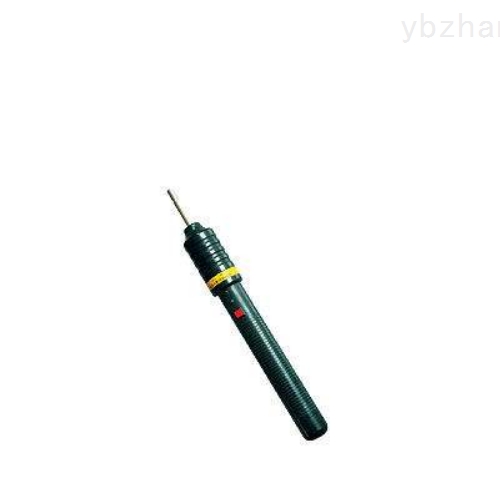
Usage Method:
1.Please charge the lightning counter test instrument before use,To ensure charging effectiveness and extend battery life, use the dedicated charger. It takes about 3-4 hours to fully charge an empty battery. The red light on the charger indicates charging: the green light indicates charging is complete.
2、According to the installation height of the counter, appropriately extend the telescopic discharge rod.
3、For the dedicated grounding wire, insert one end plug into the jack at the rear of the calibrator, and connect the other end clip to the ground.
4、Press the red button to turn on high voltage for about 1 second, the indicator light will light up (flickering slightly),
Then gently tap the connection end of the counter and the lightning arrester for testing.
Keywords: Lightning Counter Calibrator, Lightning Counter Calibrator, Lightning Counter Calibrator
5、After each tap, the discharge rod tip should leave the counter. If repeated testing is needed, do not release the button. Wait for 1-2 seconds until the indicator light flickers again, then tap again for testing.
6、Continuous testing may cause the calibrator to heat up. Please pay attention to appropriate intervals to reduce malfunctions and extend battery life.
7、The calibrator output has three levels: high, medium, and low, which can be adjusted via the toggle switch on the head to adapt to testing counters of different types or brands.
8、If the indicator light does not flicker after pressing the button for more than 3 seconds, it indicates that the battery needs charging.
9、Do not disassemble the calibrator arbitrarily. If the battery pack capacity significantly decreases or charging efficiency is too low, it needs to be replaced. Please purchase a dedicated battery pack from our company.